
Photogrammetry: How to quickly build a 3D model of anything with just a laptop and a camera for free
In this article, we’re going to teach you how to build a basic 3D model using just a camera and a laptop. We will use a free piece of software called Vsfm. We won’t go into any details of how this works in this article.
Photogrammetry: Structure from motion
Structure from motion (SfM) is a photogrammetric range imaging technique for estimating three-dimensional structures from a two-dimensional image, It’s a form of computer vision. With that said, let’s start!
Overview
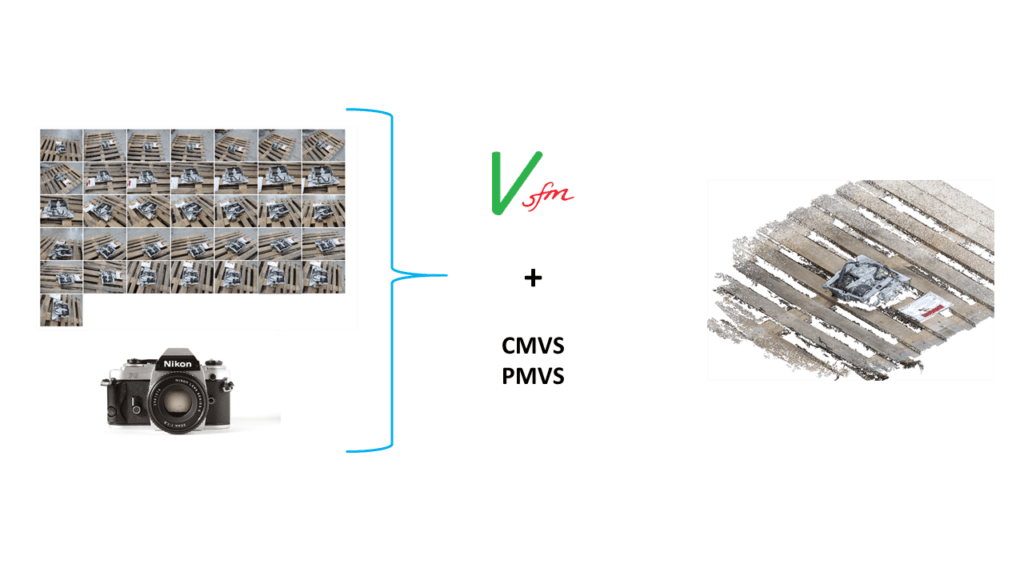
Setup
We’ll be using a range of free software for this so let’s get started!
- Download VSfM http://ccwu.me/vsfm/
- Unzip VSfM
- Download CMVS-PMVS https://github.com/pmoulon/CMVS-PMVS
- Unzip CMVS-PMVS
- Open CMVS-PMVS-master/binariesWin-Linux
- Open the relevant folder for your system
- Copy the contents of the folder you just opened
- Open the VSfM folder you unzipped in Step 2
- Paste the contents you just copied, you will be asked to replace or skip the files. Click replace
- Done!
Generating a model
Now you’ve got everything set up here comes the fun part! Making your first 3D model. So, I’ll guide you through a quick overview process to get you started.
GET SOME PHOTOS
First, we need Photos of whatever it is you want to turn into a 3d model. You want between 20 and 50 photos’ initially. If you’ve got a really good computer then you can get away with more. Make sure you’re using a good camera, keep flash off and try to keep the light and shadows on the object constant.
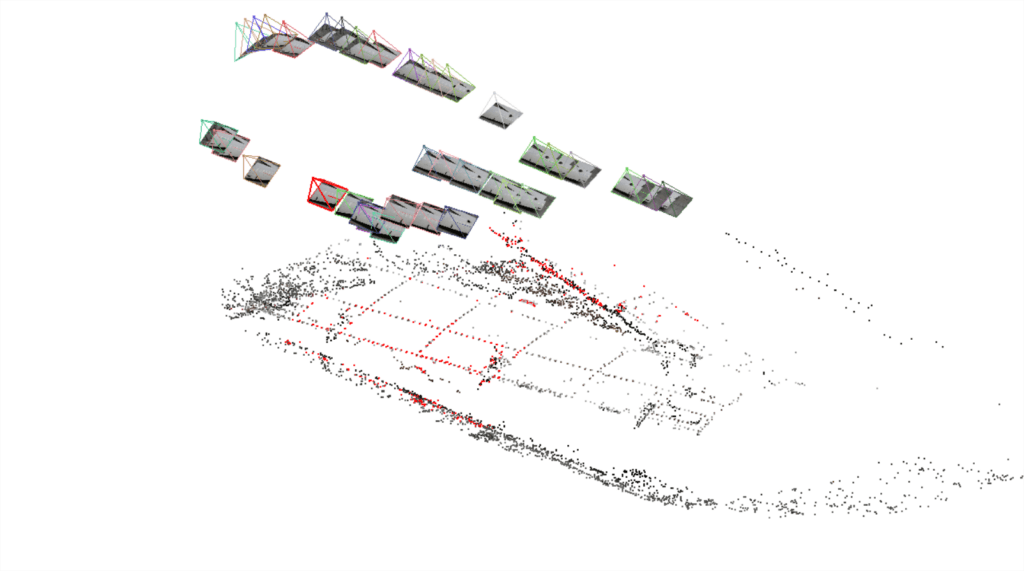
If it’s a flat surface take the photos in a scanning motion.
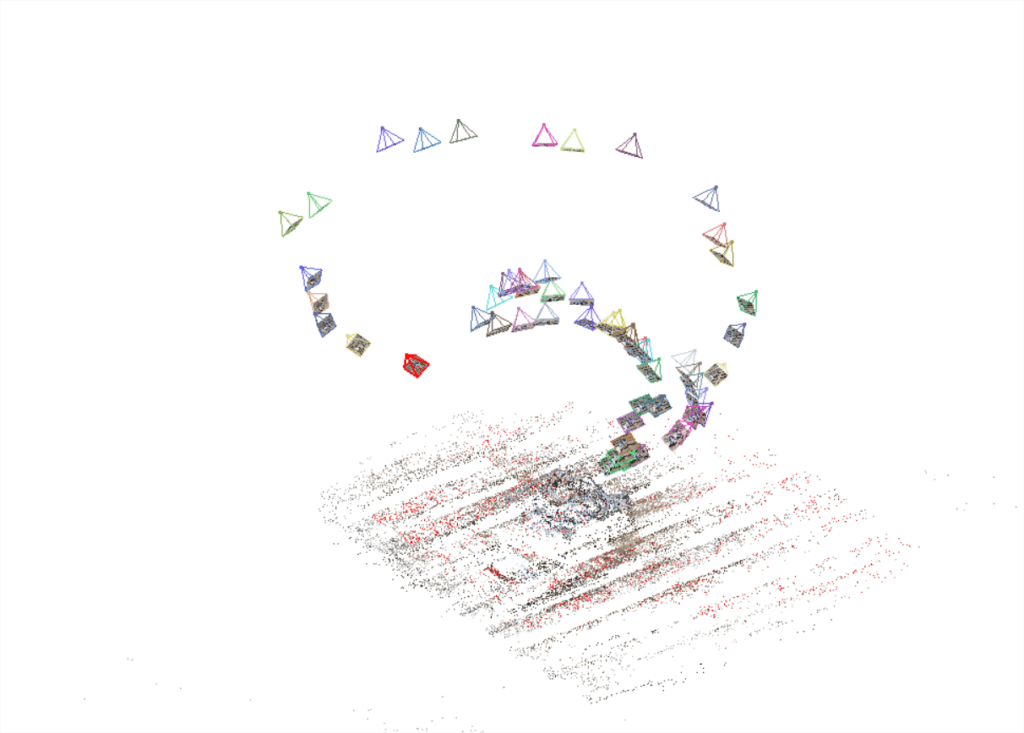
Otherwise Take photos about every 20 degrees 360 degrees around the object. Increase the height after one 360 and repeat.
PROCESSING
1. Open Vsfm
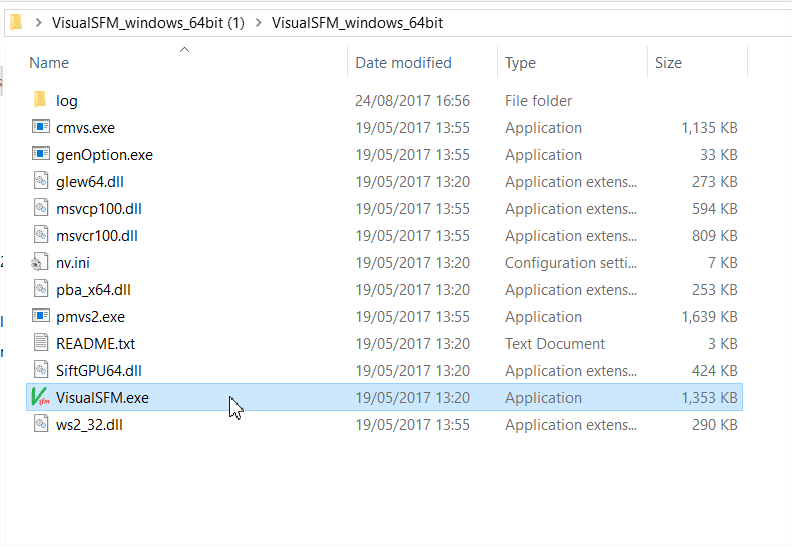
Open VSFM, by clicking the VSFM.exe in the folder you unzipped earlier. Two windows will open, the interface and the log window.
2. Load the images

Wait for the images to load in
3. Click compute missing matches
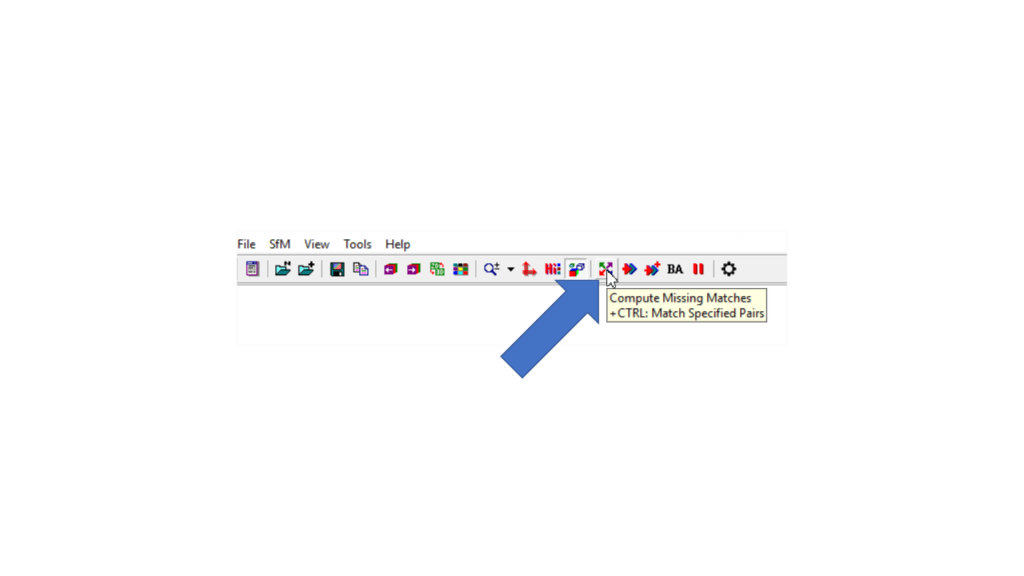
Allow the software to complete the missing matches
4. Click compute 3D reconstruction
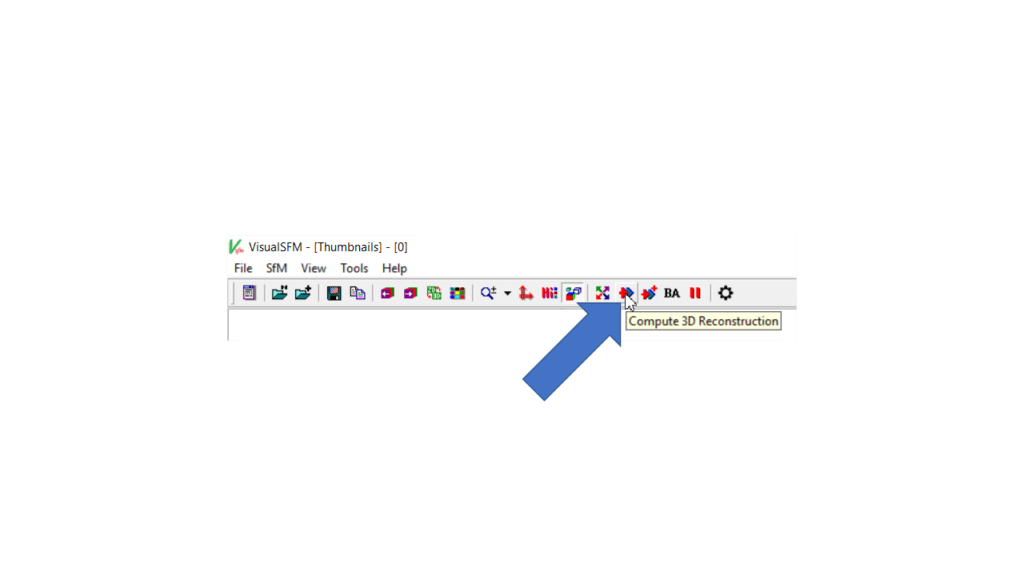
Allow the software to build the sparse cloud, this may take a little longer
5. Click Run dense cloud reconstruction
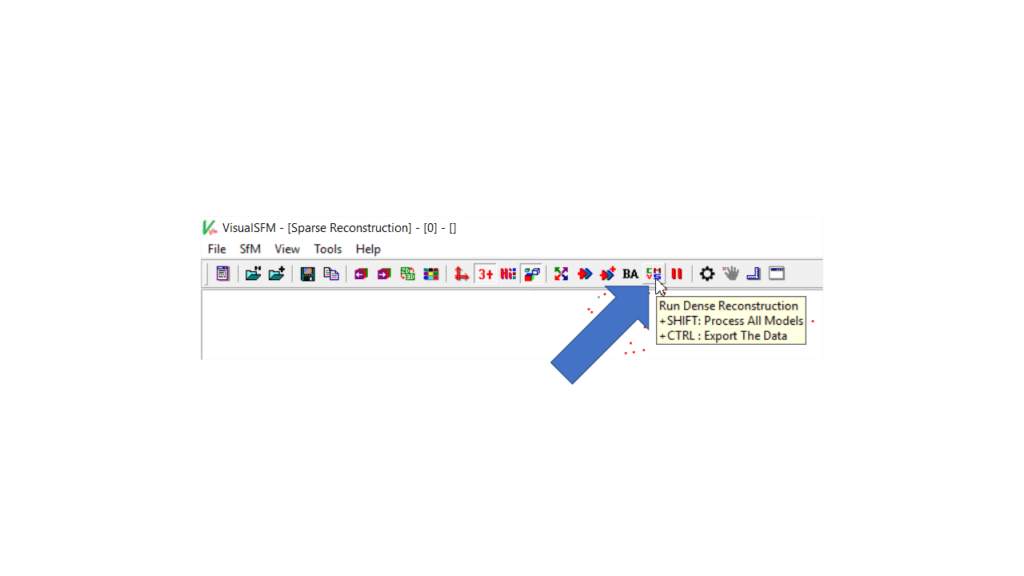
You will be prompted to Save the file
This process may take a while but it’s the last one to make the model!
6. Once it’s finished Press tab and you should see a point cloud of your model!
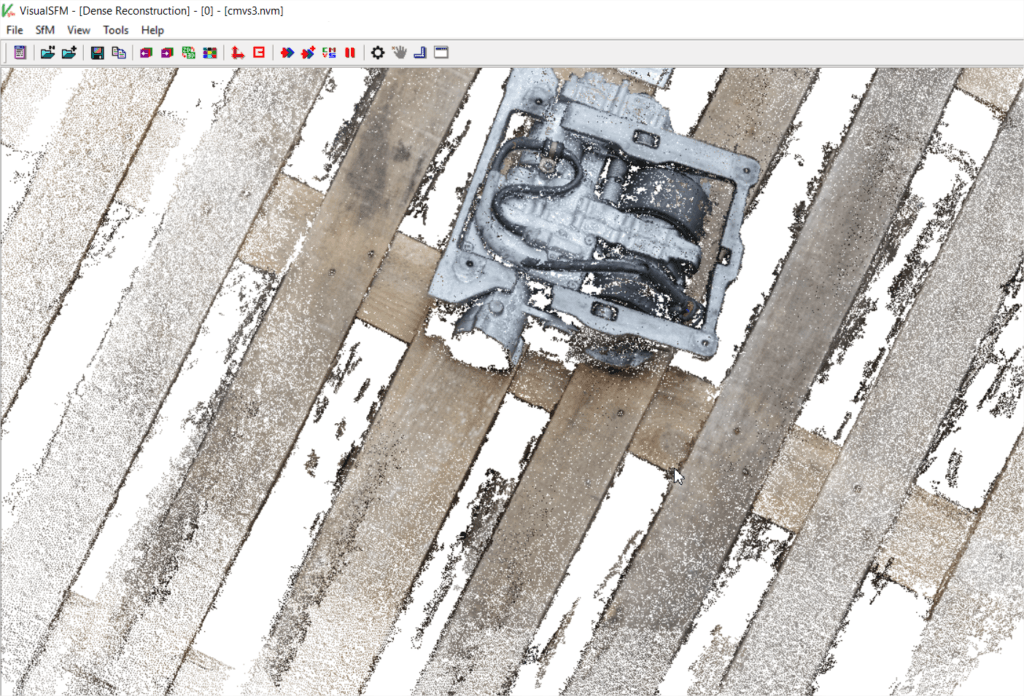
Controls:
- Use the Left click to move the model
- Right click to rotate the model
- A full list of controls can be found here http://ccwu.me/vsfm/doc.html#gui
You can reload your model at any time by clicking the SFM tab then clicking Load NView match and finding the file you saved earlier for the dense cloud.
Best practices and tips
- Features! Make sure images you have contain lots of features; the algorithms detect features so the more you have the better the results
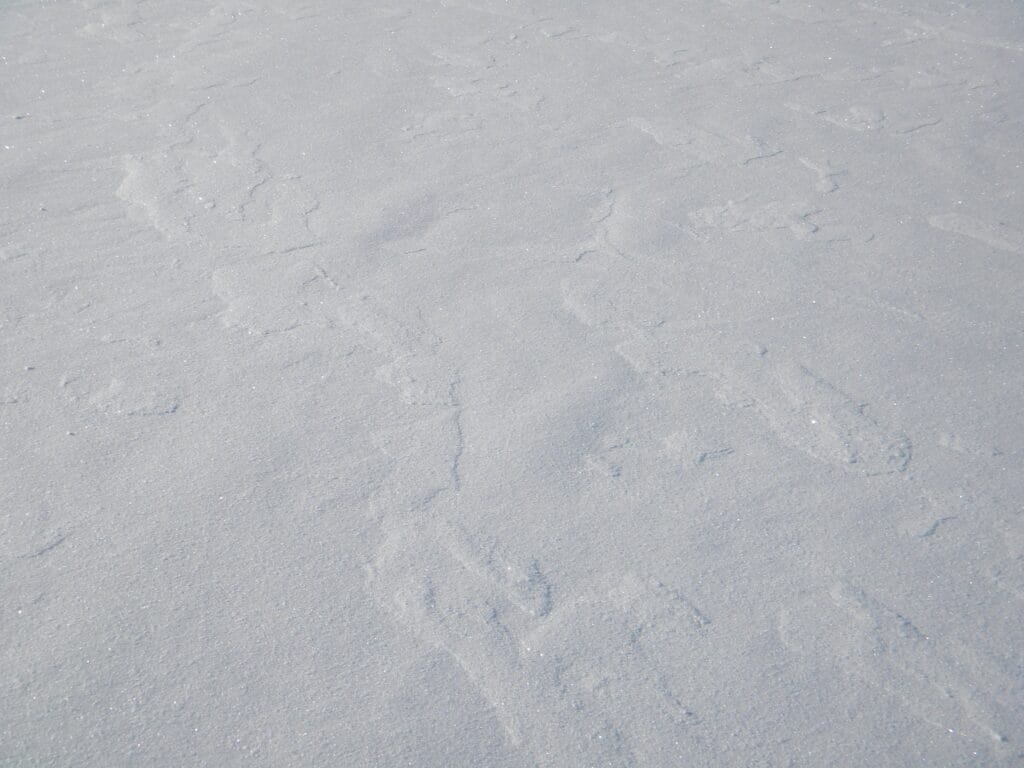
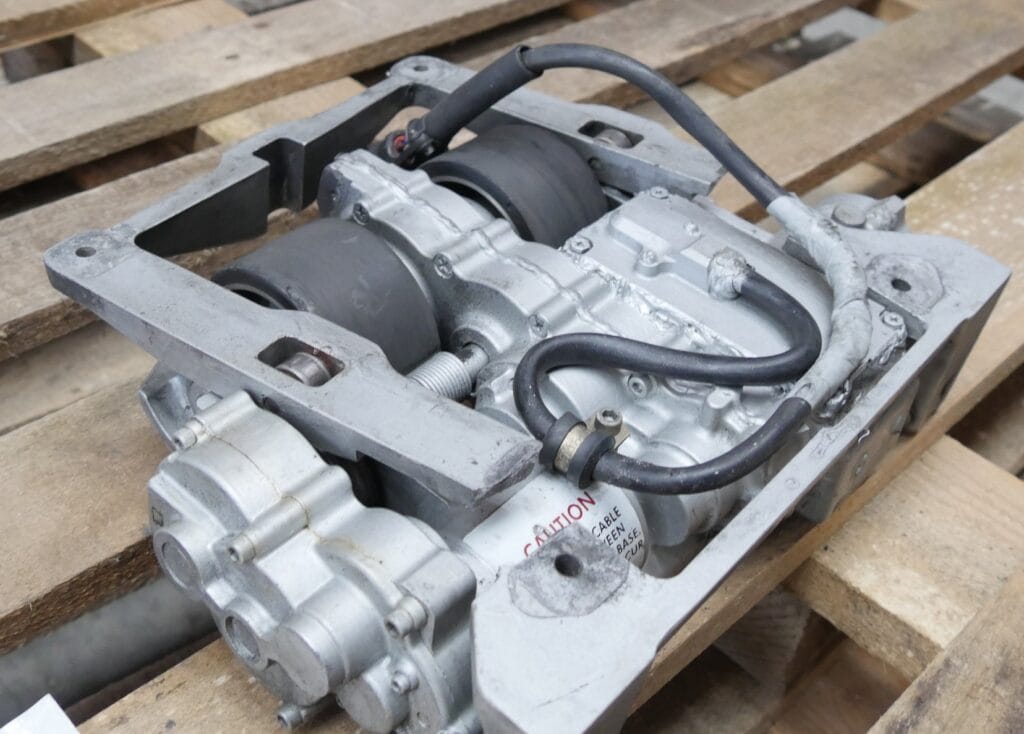
- Try to avoid taking photos of shiny surfaces, cover them in Talc powder if need be
- Keep the object of interest in the centre of the image
- Try to cover the whole image with the object of interest
- Try to make sure each image has an overlap of features
- Practice!
This is only a basic guide on how to do Photogrammetry with some free software, A3L regularly develop and use photogrammetry for advanced scanning applications with an accuracy of less than 1mm. We use photogrammetric applications for building CAD models and Augmented/virtual reality.
Related posts
Optical Augmented Reality Metrology, the future of Metrology?
Measuring Key points on a complex featureless surface can be extremely difficult, locating the point
Demos of Augmented Reality at MRO, Engineering and Metrology Trade Shows
We’ll be demonstrating our Augmented reality products this year at various trade shows in Europe a
Augmented Harness Assembly, the Future of Aerospace and Automotive Harnesses?
Harness Manufacturing is an artform, with skilled workers across the UK assembling thousands of harn


